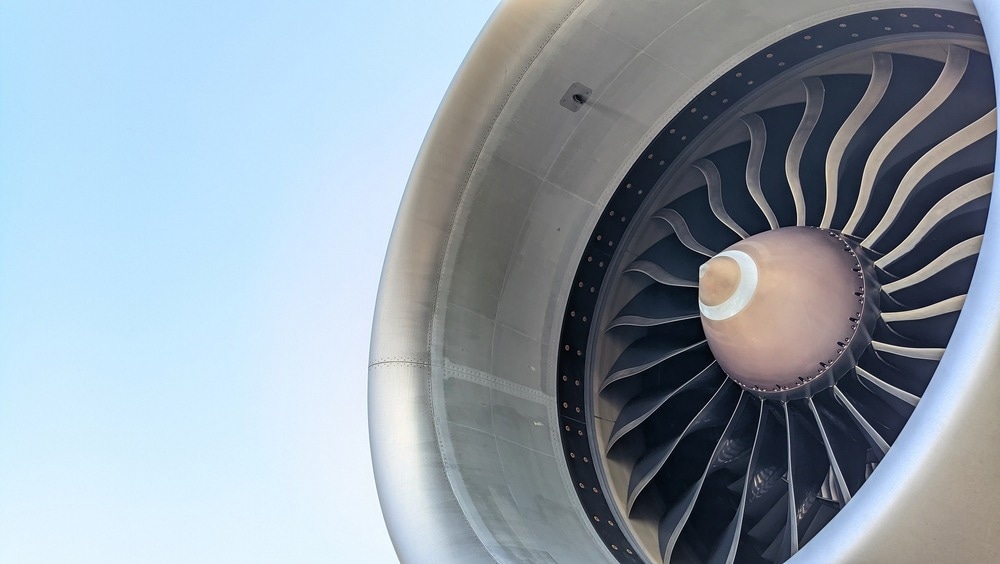
A jet engine is a feat of engineering. Its seamless integration of components allows for takeoff, flying, and landing – events we now expect to occur confidently every time. But beneath this dependability lurks a world of harsh conditions and strict standards.

Image Credit: Sarmiko.id
Jet engines operate at temperatures exceeding 3000 °F, and this heat is not only a byproduct but also essential for fuel efficiency and optimal performance.
Advances in materials science have enabled us to meet these requirements more effectively, particularly in one of the engine's most crucial components: turbine blades.
Why Turbine Blades Matter
Turbine blades generate thrust, which is the force that propels an airplane forward. Manufacturers now use single crystal superalloys to provide reliability under intense heat and stress.
These innovative materials are designed with no grain boundaries, dramatically improving resistance to creep, thermal fatigue, and corrosion cracking. Their ability to maintain mechanical integrity at high temperatures renders them indispensable in modern jet engine design.
Turbine blades are thoroughly inspected and maintained. Depending on the inspection type, the following qualities may have to be measured:
- 2D blade shape
- Root dimensions
- Thickness
- Surface roughness
- Cooling hole positions
- Cracks
- Deformation
- Wear analysis
The Challenge with Traditional Methods
Many inspection instruments use contact-based probes, which are slow, prone to operator error, and can also result in damage to the part. In an industry where safety and performance are essential, precision and repeatability are critical.
Zygo’s Non-Contact Solution
Zygo's 3D Optical Profilers are a powerful alternative. These instruments use Coherence Scanning Interferometry (CSI) to provide:
- Sub-nanometer precision across all magnifications
- Fast measurement cycles, often in seconds
- Capture high-density data with up to 1.9 million pixels each scan
- Versatile material and surface options, including smooth, rough, flat, curved, translucent, and opaque
This versatility makes Zygo's profilers ideally suited for assessing the various properties of turbine blades, including cooling holes, surface wear, and microcracks.
CSI Technology: Why It Matters
When inspecting turbine blades, the stakes are high. These components are designed to tolerate high temperatures and stress, and any flaw, such as a micro-crack, surface deformation, or misaligned cooling hole, can compromise performance and safety.
Zygo offers CSI-based 3D Optical Profilers, including NewView™, Nexview™ NX2, Nexview™650, ZeGage™, and ZeGage™ Pro HR. These tools address a fundamental issue: how to inspect these complicated, high value components without touching them.
Unlike contact-based techniques, which can damage the surface, CSI provides non-contact, full-field 3D measurements with nanometer-level precision. This implies that manufacturers can evaluate surface integrity, dimensional tolerances, and roughness in both polished and rough regions – without needing to switch modes or sacrifice accuracy.
Zygo's CSI innovations, including SureScan™, SmartSetup™, and QPSI™, ensure measurement stability and repeatability in production applications with vibration and airflow.
Measurements take seconds, and the system routinely captures millions of data points, enabling fast and reliable assessments at scale. For turbine blade manufacturers, CSI is both a metrology instrument and a quality assurance enabler.
It assists teams in detecting faults early, validating designs, and meeting the exacting standards of aerospace performance.

This information has been sourced, reviewed, and adapted from materials provided by Zygo Corporation.
For more information on this source, please visit Zygo Corporation.